
DO IT YOURSELF!
Create a Preserved Wedding Bouquet with SecondFlor: the full tutorial
Creating a wedding bouquet is a defining task for any florist, balancing artistic vision with the practical demands of a wedding day. Imagine offering your clients a bouquet that remains as stunning years after the ceremony as it was on the day itself. With preserved flowers from SecondFlor, this is not only possible but elegantly achievable. In this tutorial, we’ll walk you through the process of crafting a breathtaking preserved wedding bouquet that showcases your expertise and creativity.
Step one: buy the material you need
At SecondFlor.us, we provide a comprehensive selection of high-quality preserved plants and flowers that are perfect for any event. Whether you're planning an intimate wedding or a grand corporate gathering, our preserved florals offer lasting beauty and minimal maintenance. Here is all the material you’ll need to create this stunning wedding bouquet:
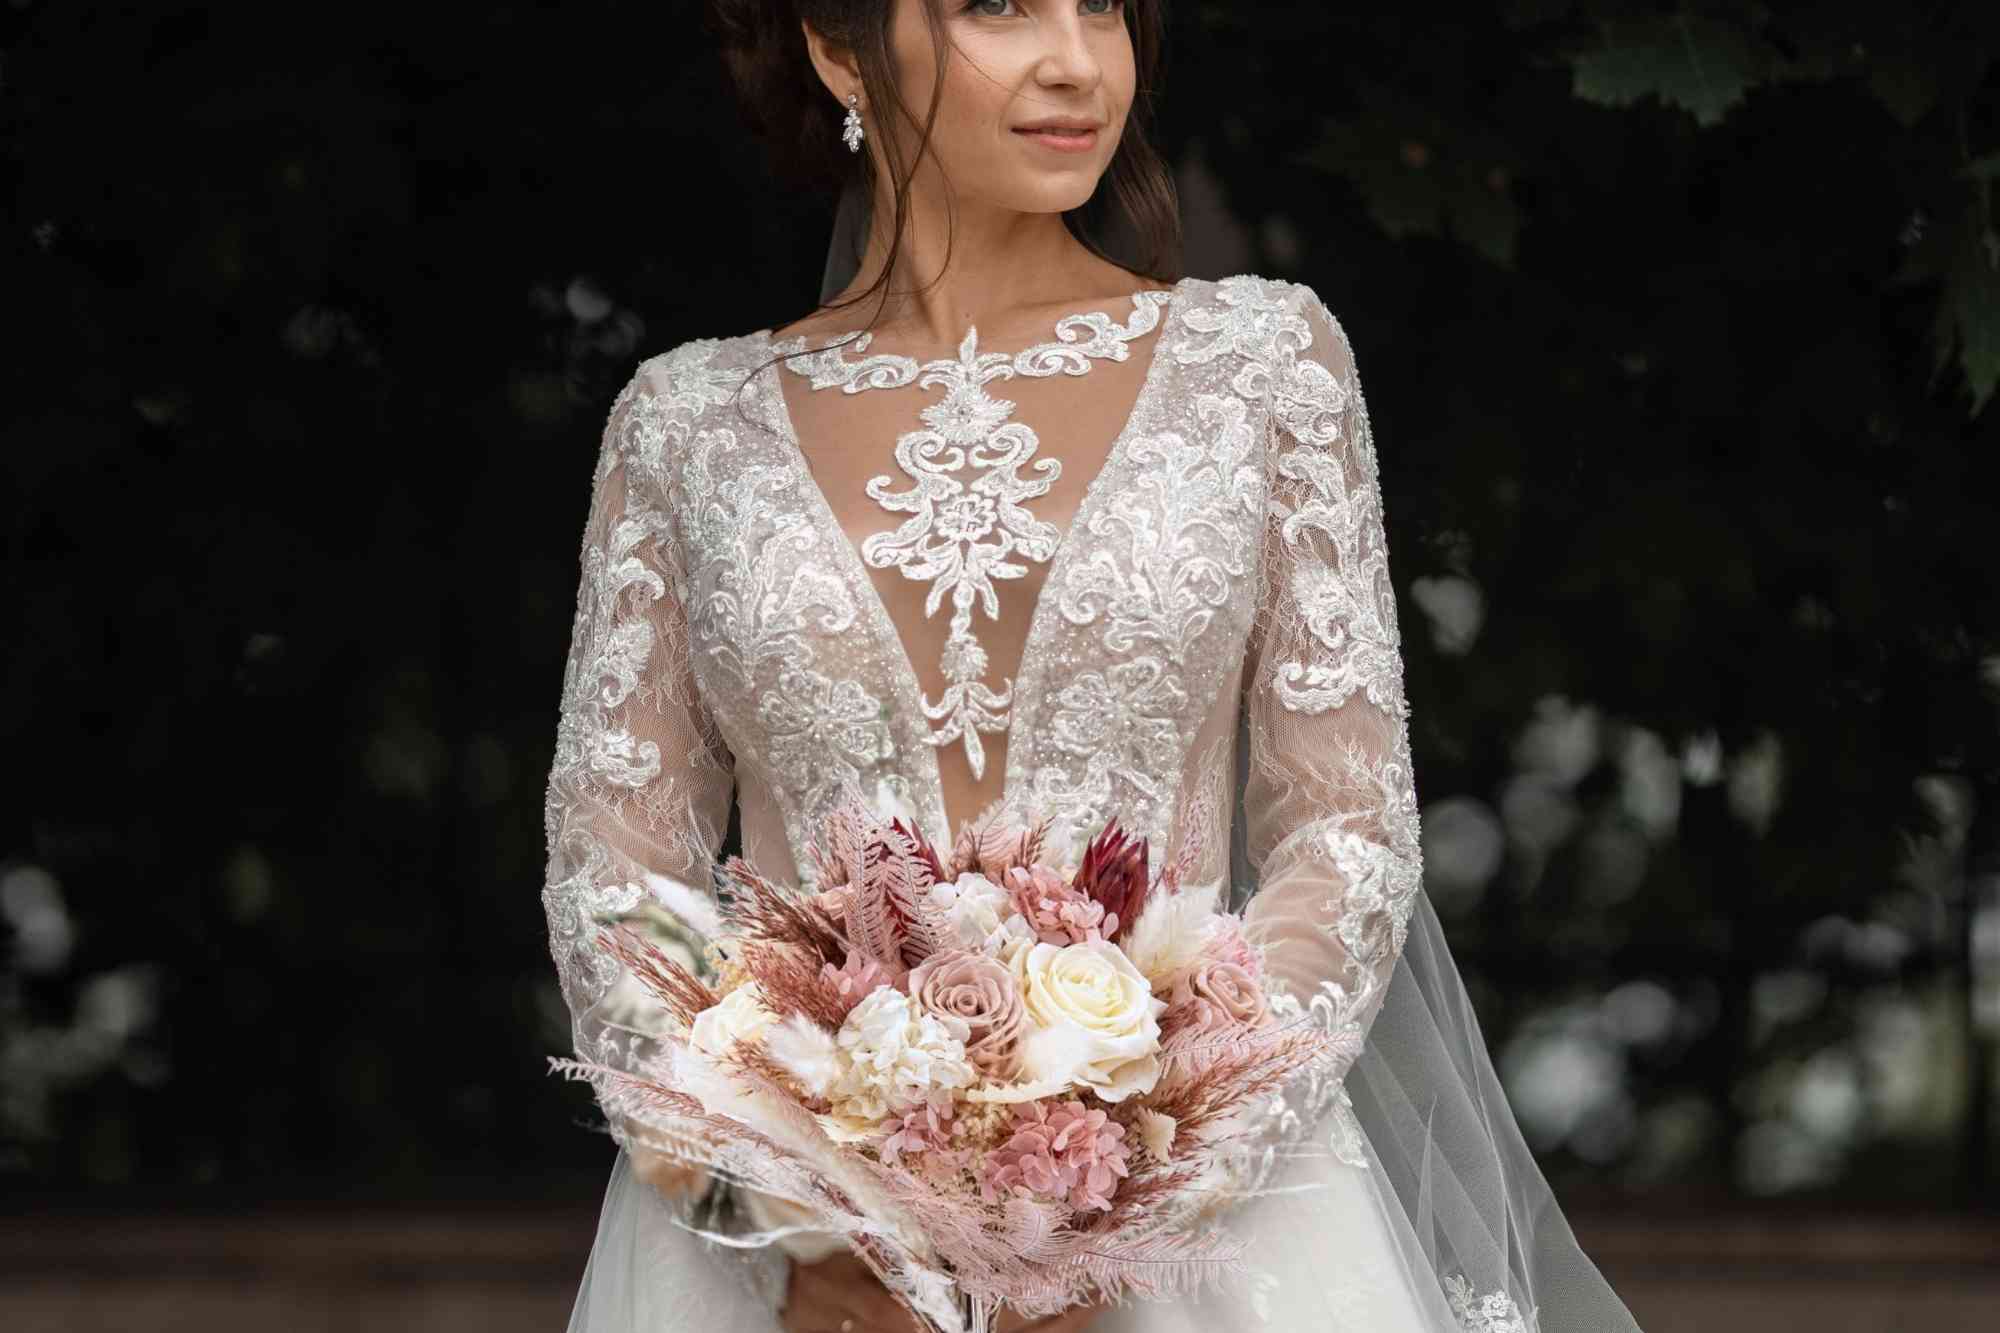
- Preserved peegee hydrangea in cloud pink
- Pearl white roses
- Pink blush roses or in café au lait color
- Dried white mini pampa
- Pink and white mountain fern
- Pink preserved pampa grass
- Pink dried protea repens
- Natural or white preserved gypsophila (baby’s breath)
- A ribbon to seal the bouquet
- Floral tape
- Floral wire
- Spruce scissors

Step two: stem preserved flower heads and plants
To create a stemmed preserved flower head, begin by inserting a longer floral wire into the base of the flower head. For additional support, insert two smaller wires in a cross shape alongside the main wire, securing them firmly into the base. Twirl the wires together to form a stable faux stem. Next, wrap floral tape tightly around the base of the flower head and down the length of the wires, ensuring a secure hold and a natural appearance. Adjust the shape of the stem as necessary to fit your floral arrangement. This technique provides a sturdy and realistic stem for preserved flowers, suitable for various decorative purposes.
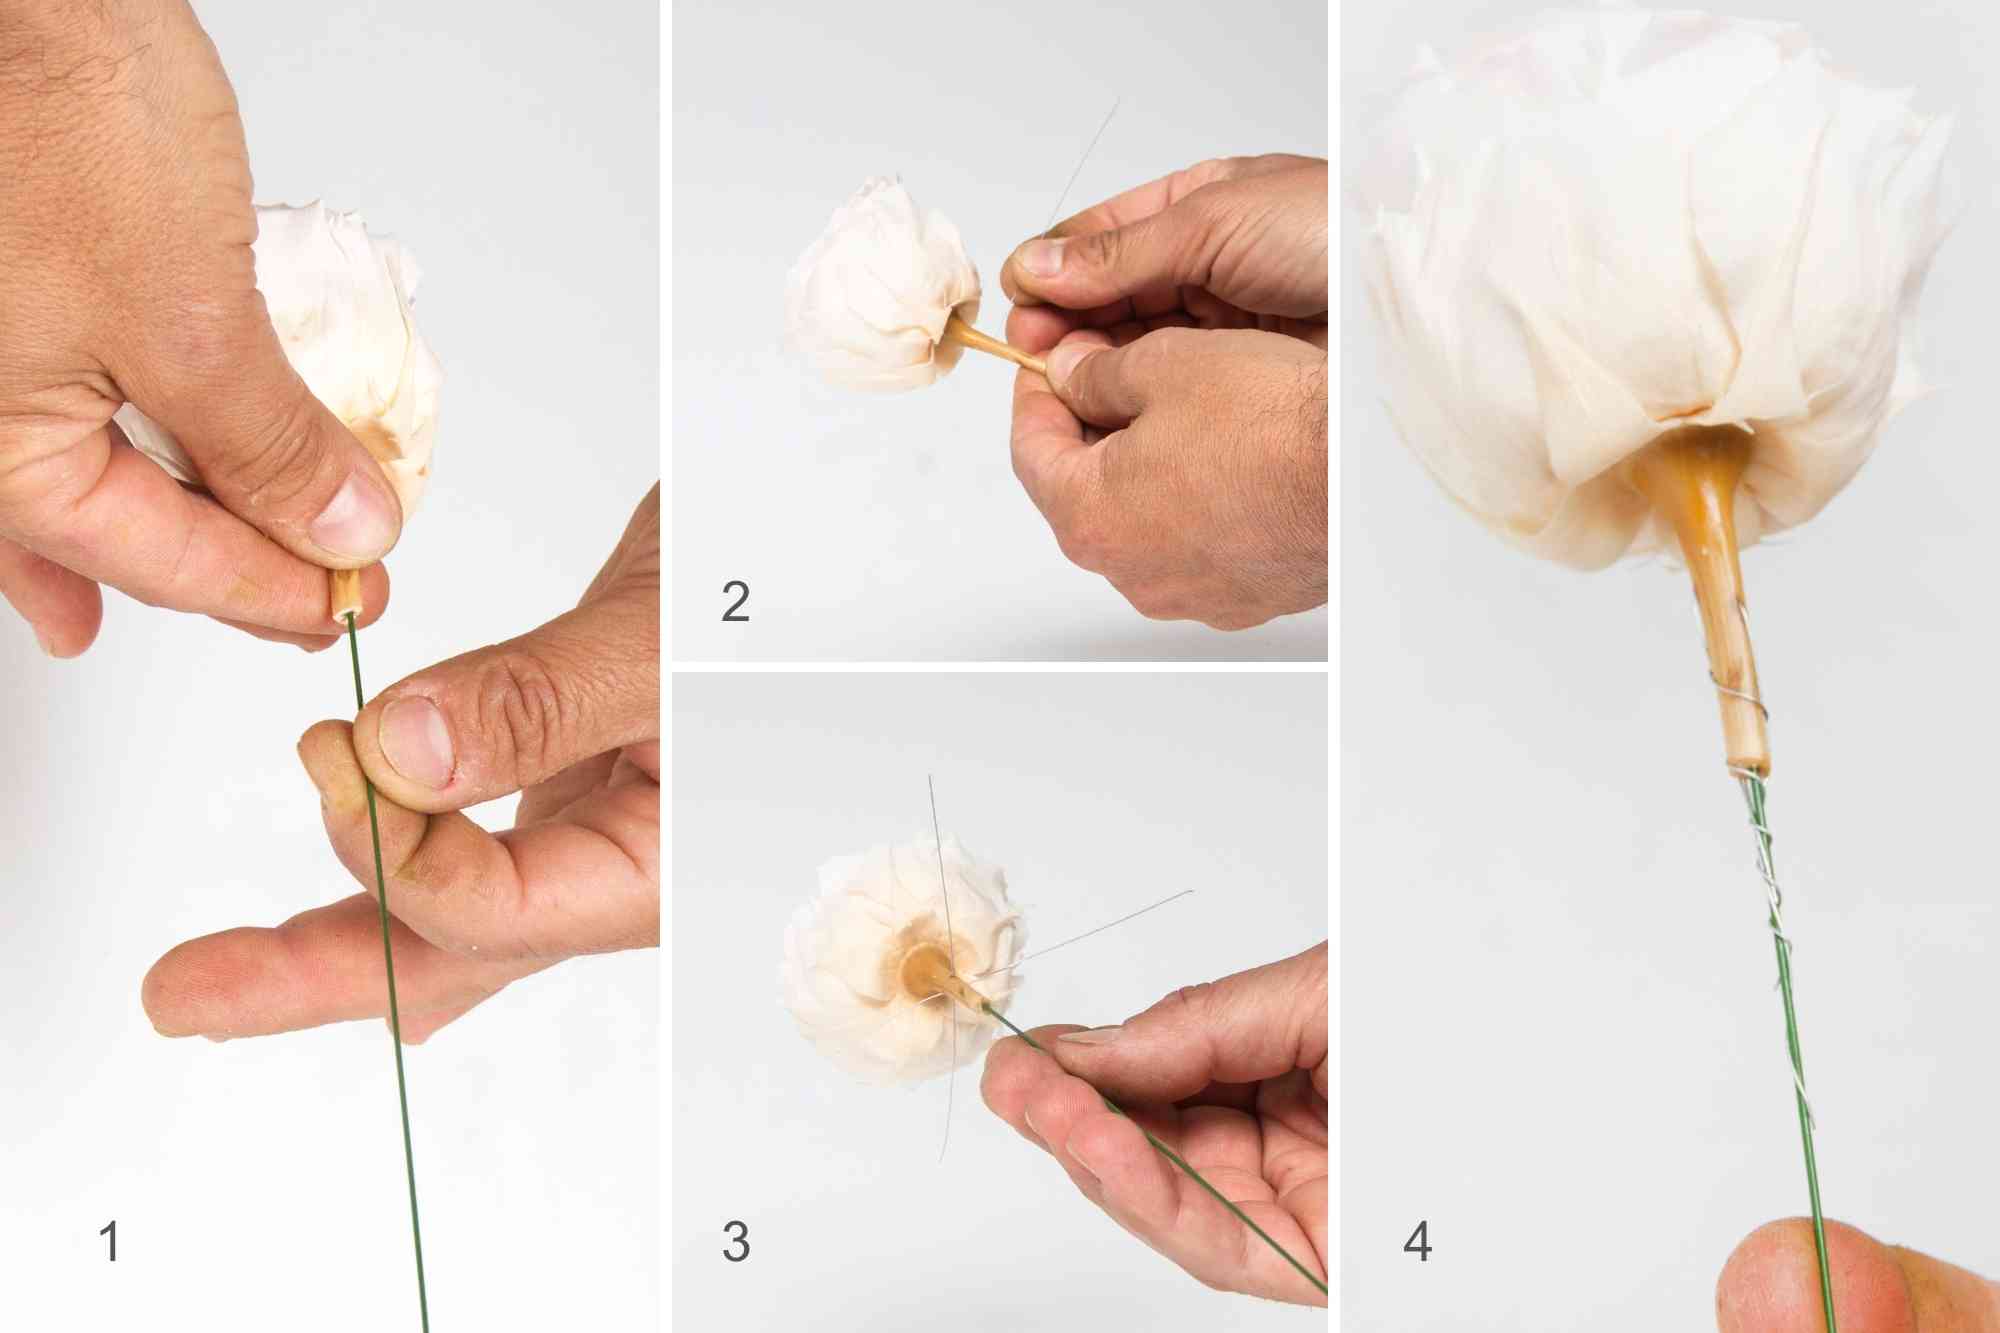
Please note that you can also buy roses on a stem or roses’ stems to glue the flower heads into.
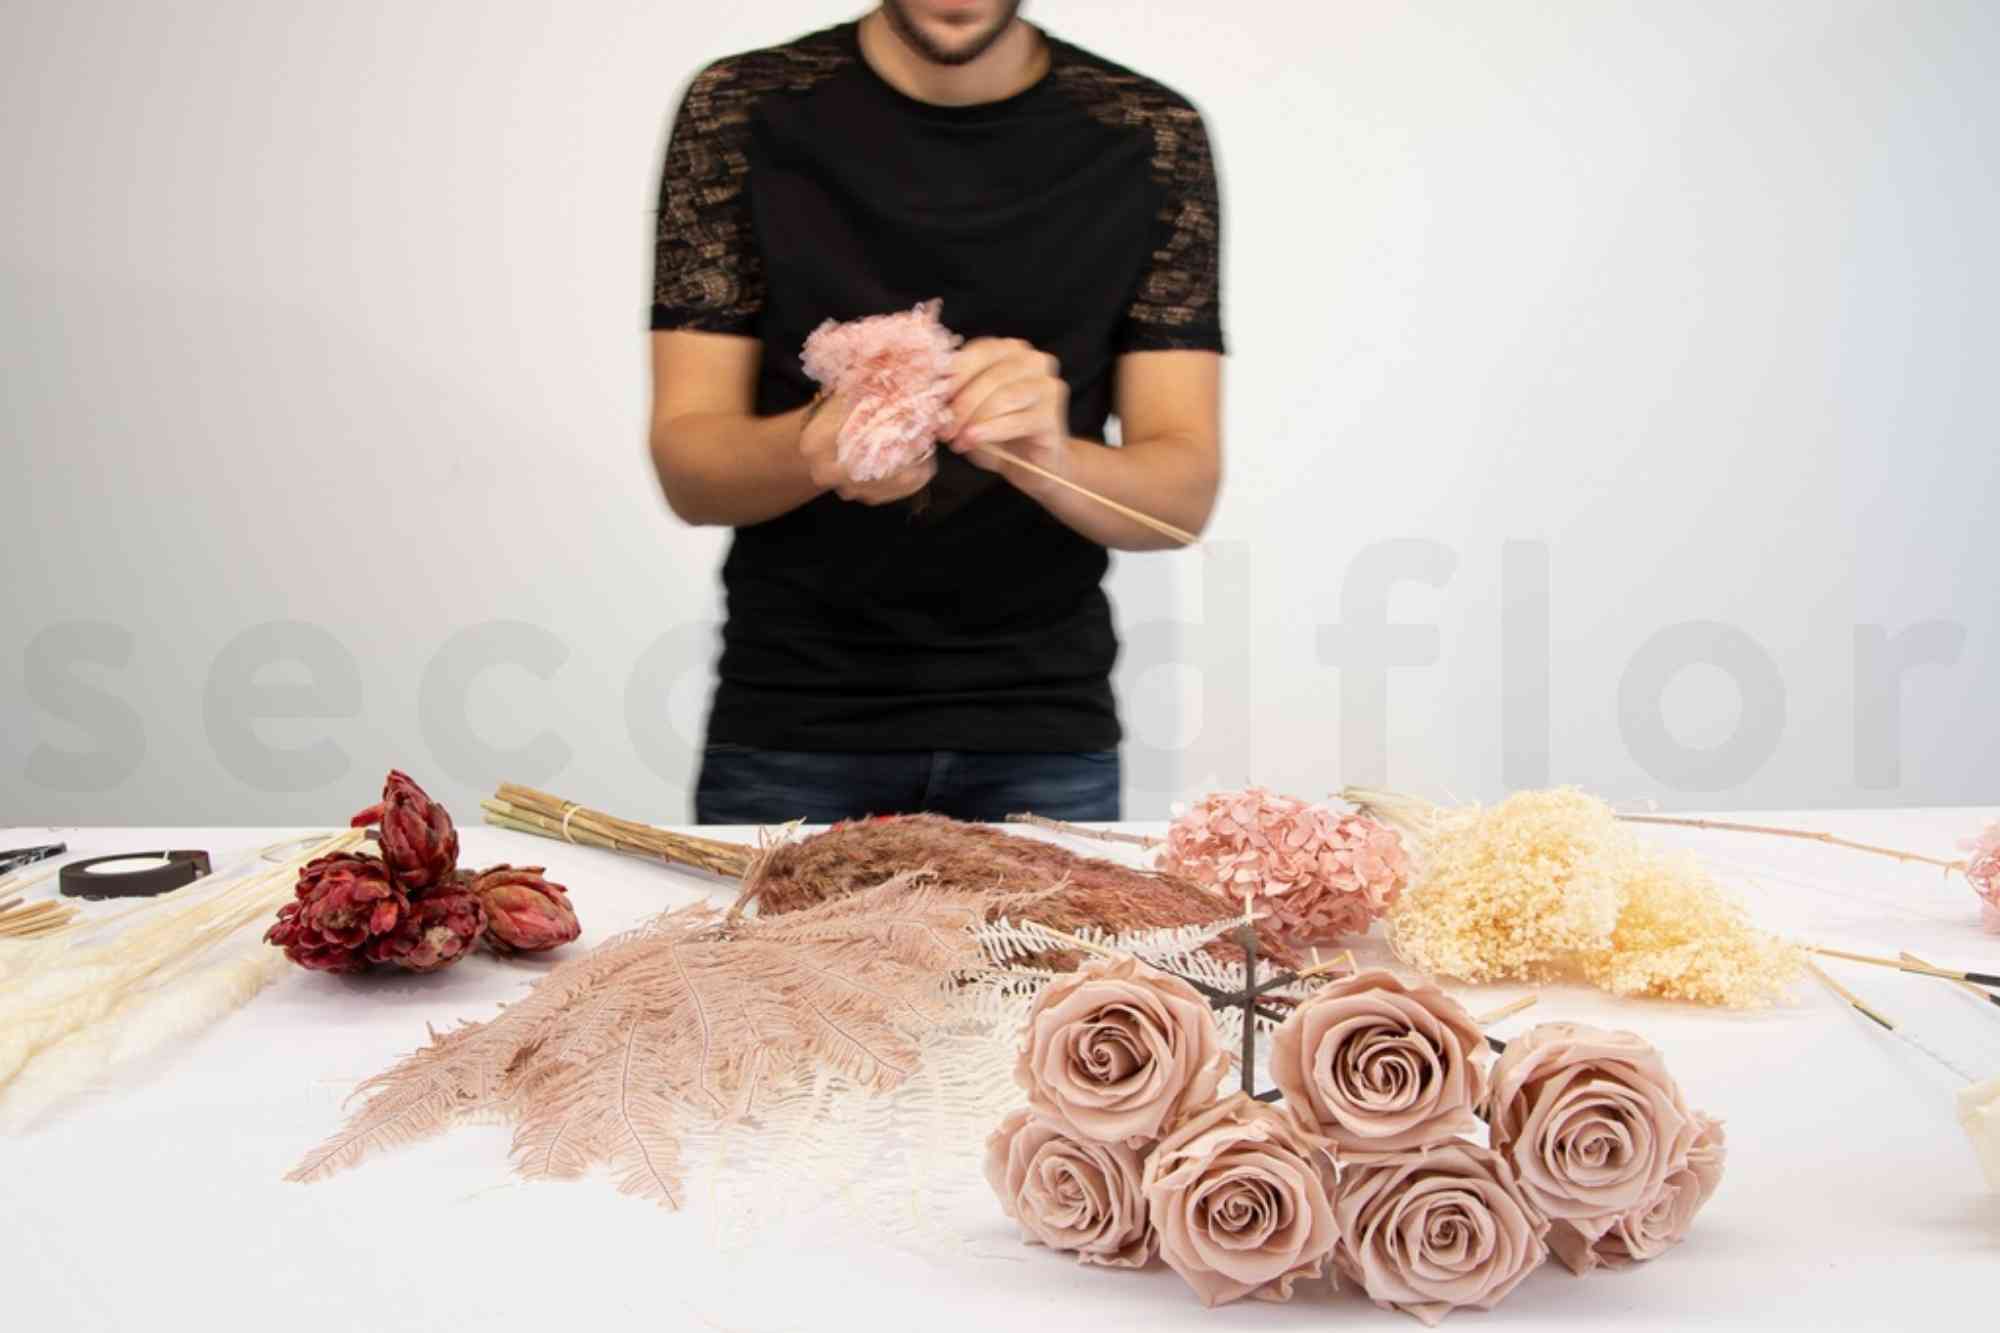
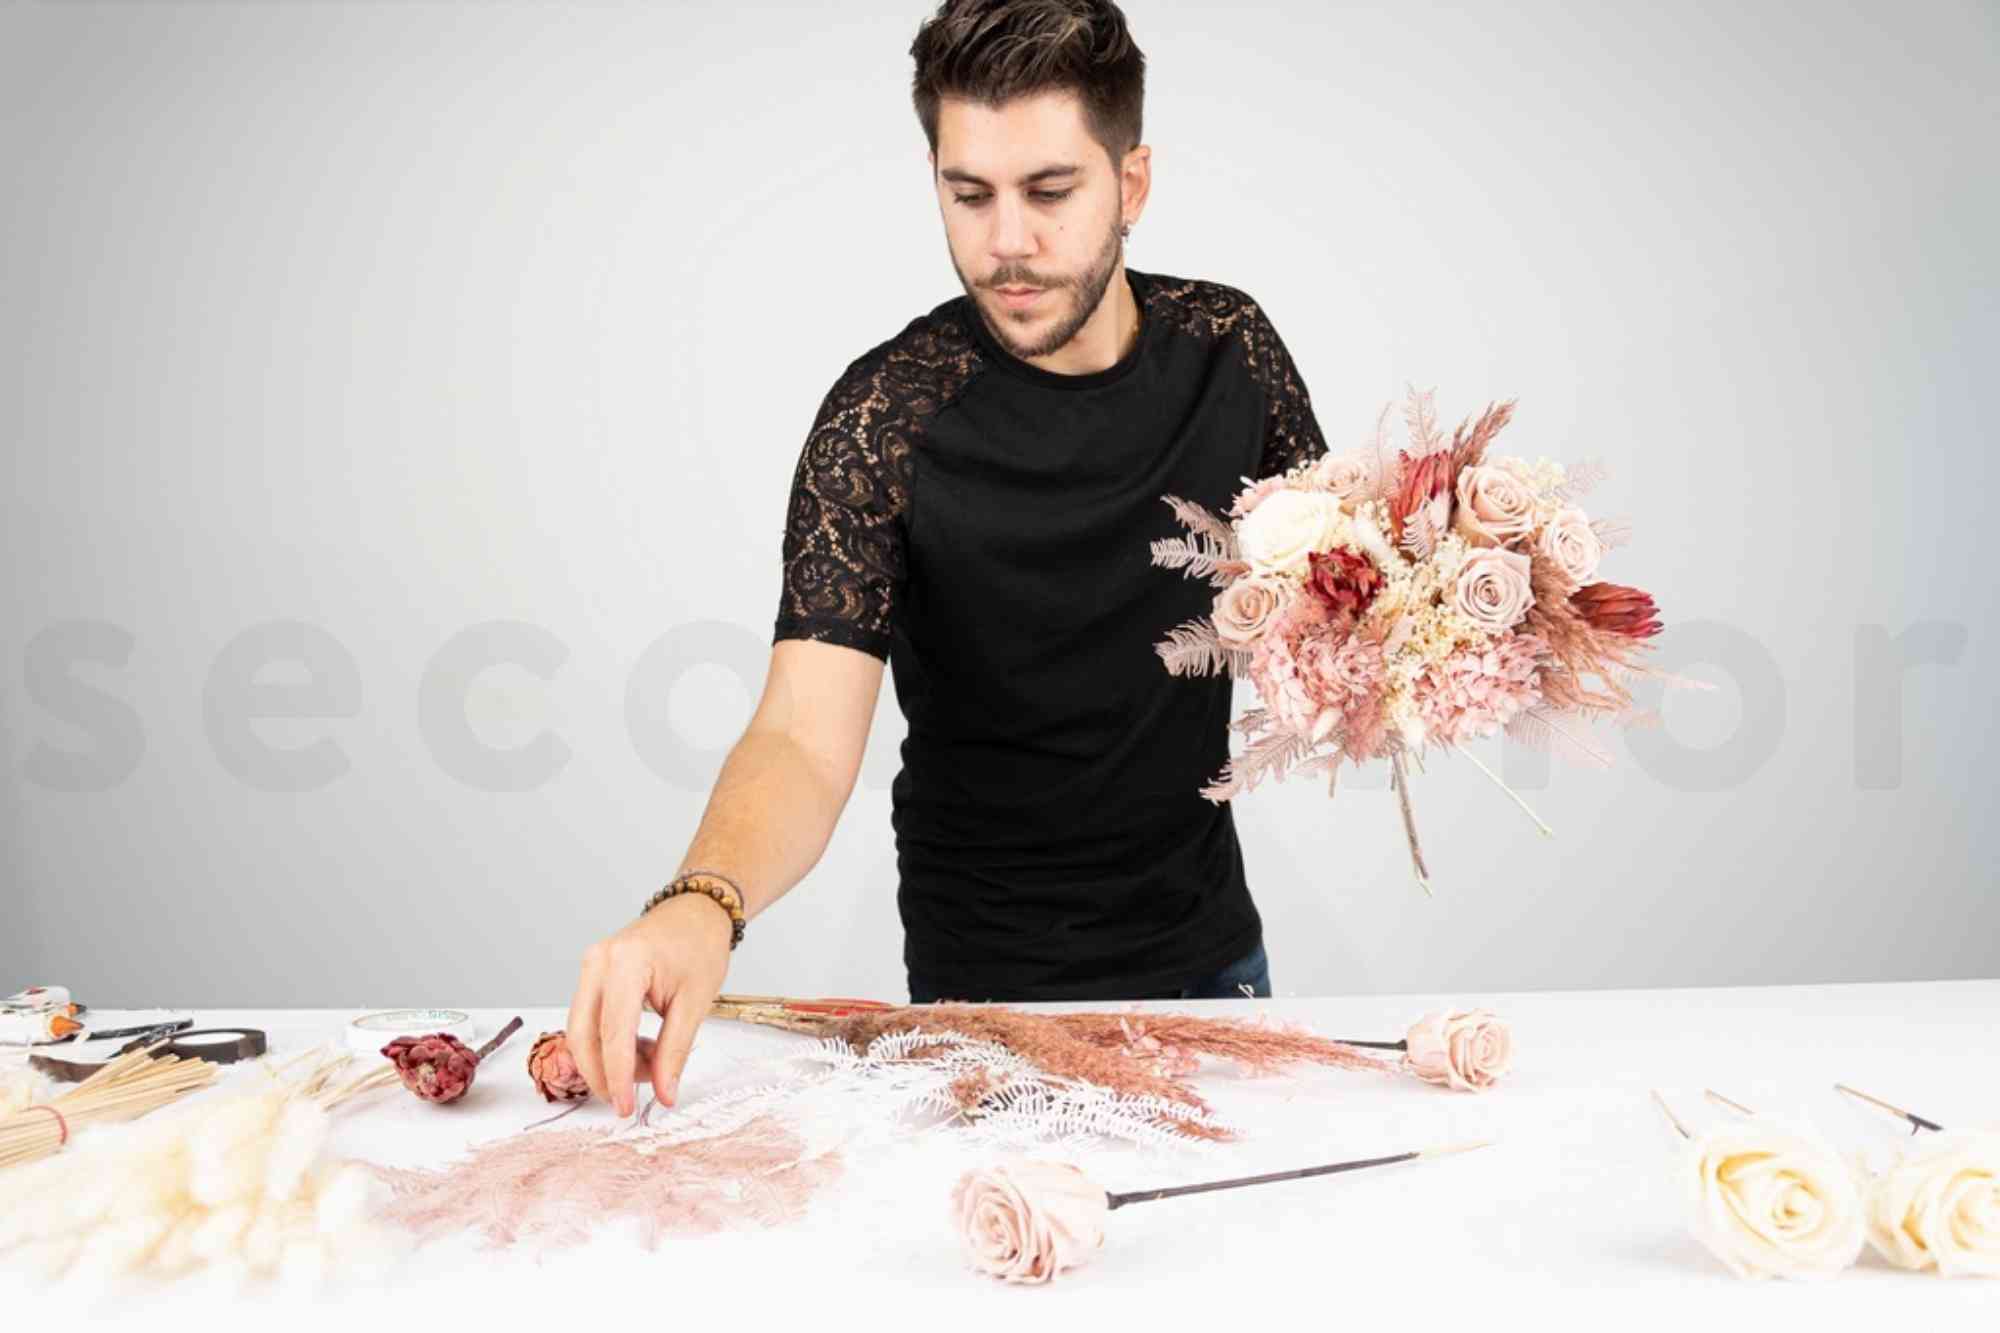
Step three: create the preserved wedding bouquet
Now that you've stemmed each rose head and leaf, you can move on to creating the bouquet. This is a round bouquet, so you can arrange it as you would fresh flowers. For those of you who aren't familiar with it, start by taking the central flower — the hydrangea — then add some other flowers around it, turning the bouquet in your hand to maintain a symmetrical shape. Incorporate greenery between the flowers to add texture and volume, making sure that the greenery doesn't protrude too much to maintain the bouquet's round shape. Continue adding flowers and greenery evenly until you achieve a harmonious, balanced whole.
Step four: secure the wedding bouquet
Securing a wedding bouquet is crucial to ensure it stays intact throughout the wedding day and ever after. Use floral tape to bind the stems tightly, starting just below the blooms and wrapping downwards. Cover the floral tape with ribbon, wrapping it from the top of the stems down and securing it with a pin or hot glue.
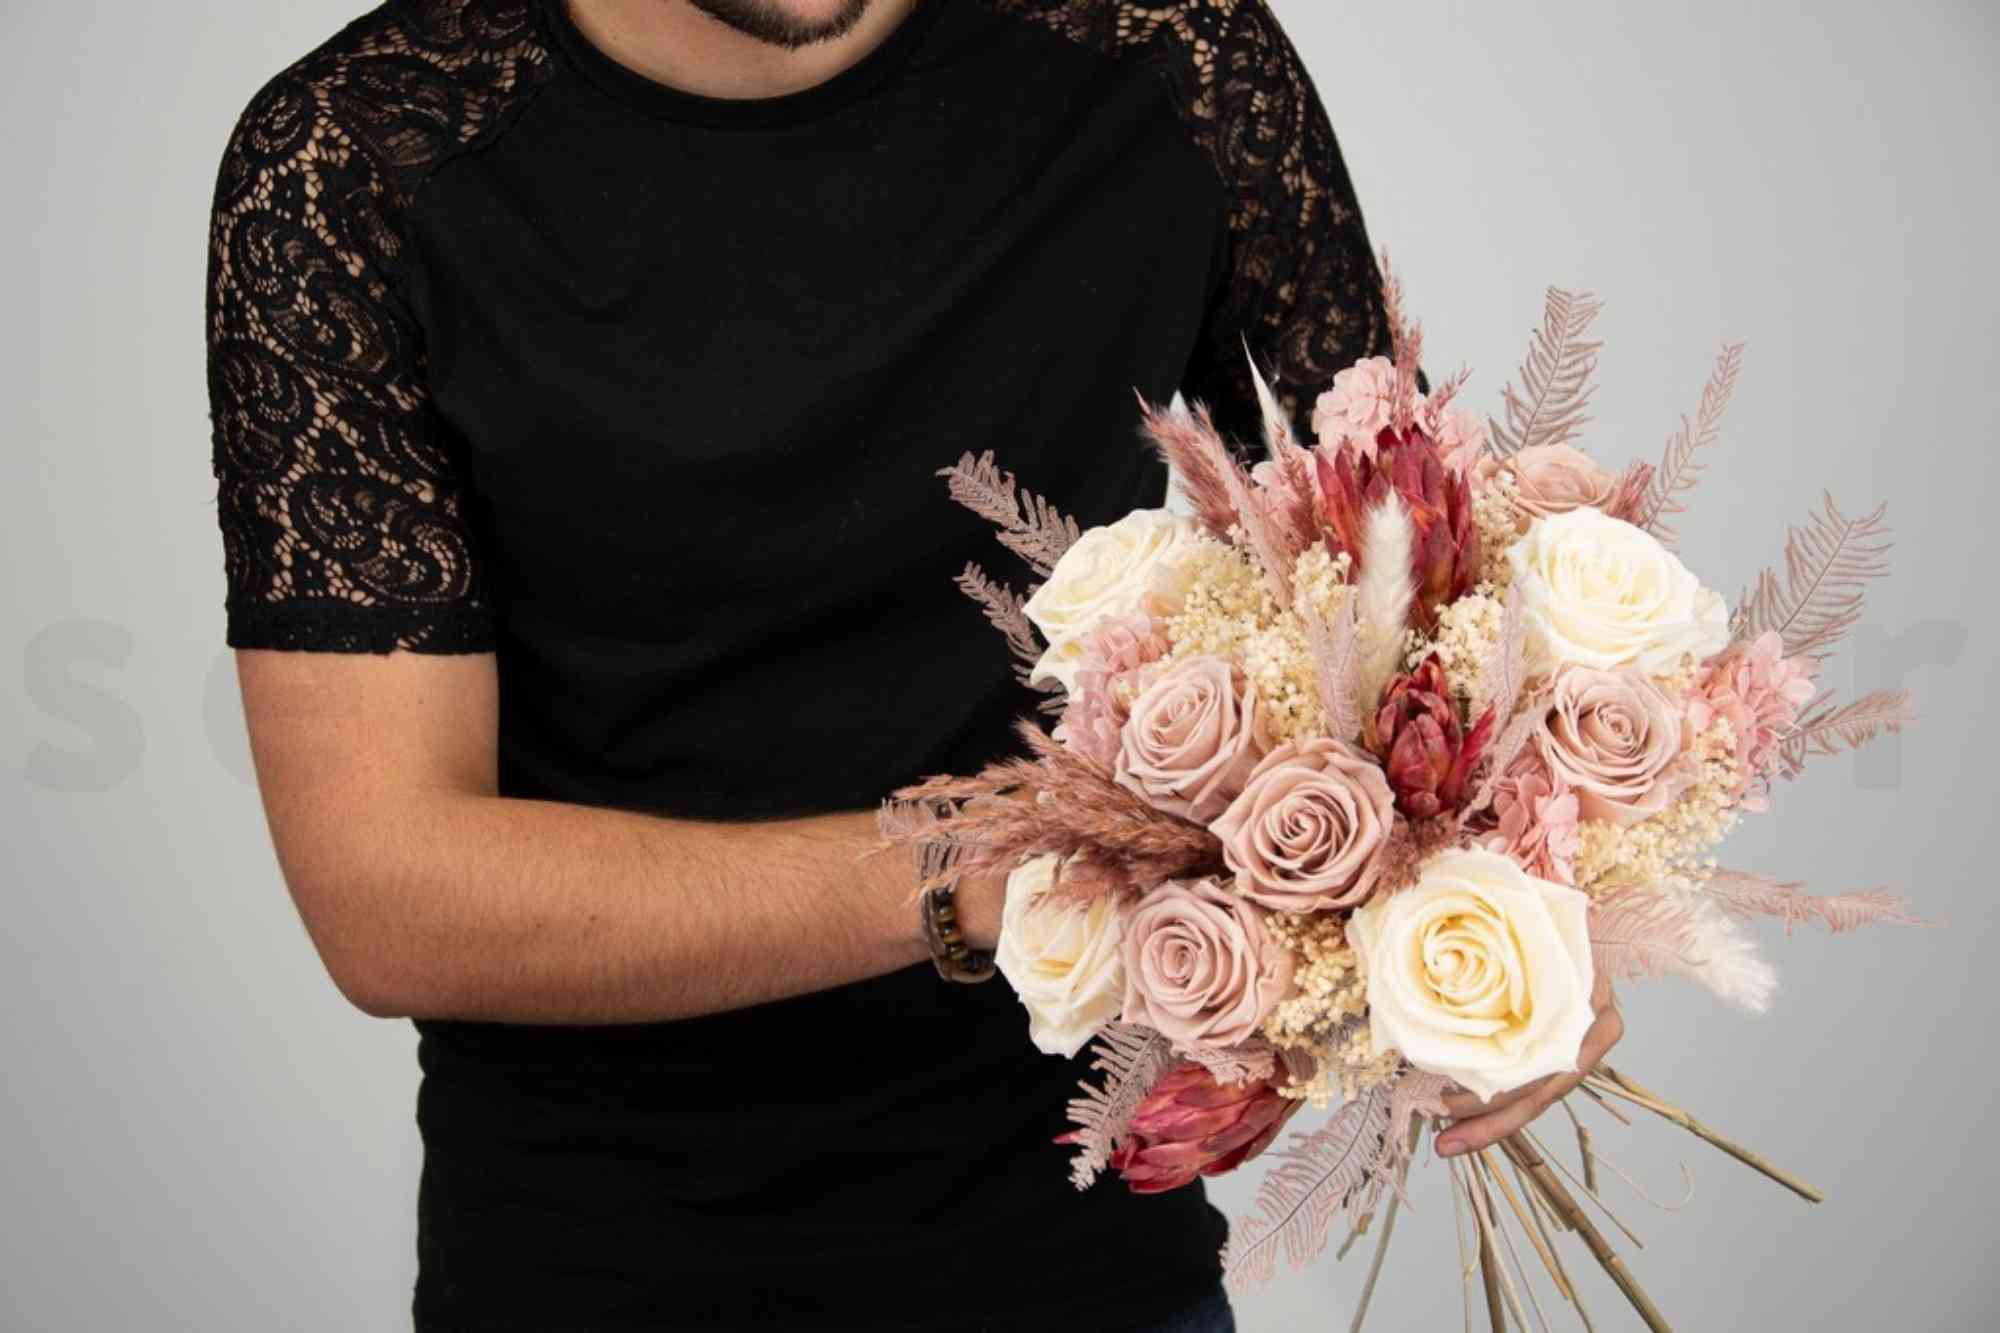
And voilà, your bouquet is ready to sell. Don't forget to create several bouquets at the same time, so you'll have a display full of beautiful, everlasting products. For preserved flowers and plants, there's only one trusted address in the USA: SecondFlor.us.
For more BUSINESS tips, INSPIRATION or DO IT YOURSELF, keep on scrolling through our magazine.

Follow Us